Ah, the nostalgic embrace of holiday gatherings, where the heartwarming aroma of my stepmother’s squash casserole would swirl through the air, marking the onset of festive joy. A culinary symphony orchestrated by my dad and stepmom, with her squash casserole playing the leading role, etching indelible memories into my taste buds.
Fast forward to adulthood, and that squash casserole had become more than a dish—it was a savory time machine, transporting me back to cherished moments. Whenever I crossed the threshold of their home, a simple request would escape my lips: “Could you make the squash casserole, please?” It was a ritual, a culinary reunion with a dish that held the essence of family and tradition.
Yet, as my culinary journey unfolded and my passion for cooking blossomed, I found myself standing at the crossroads of tradition and innovation. It was time to put my own spin on this cherished recipe, a gesture that felt like stepping into the shoes of the generations before me. The ingredients remained loyal to my stepmother’s original masterpiece, a symphony of squash, seasoning, and magic. The tweak, however, lay in the techniques—a culinary metamorphosis that would make this dish uniquely mine.
Every summer, I find myself immersed in the artful dance of transforming freshly grown squash into a culinary treasure. It’s not just about cultivating the vibrant hues in my garden but about preserving the essence of summer in my freezer, ready to be summoned at my culinary whim.
Once these sun-kissed squash beauties make their way from the garden to my kitchen, their journey takes a transformative turn. Enter the ritual of blanching—an elegant process where the vibrant greens and yellows luxuriate in boiling water for a mere five minutes. It’s a delicate interlude that tenderizes without compromising their integrity.
From the boiling cauldron, the squash gracefully transition into an icy plunge, an act of culinary suspension that halts the cooking process in its tracks. This icy bath not only preserves their vivid color but also ensures a texture that holds up under the scrutiny of culinary exploration.
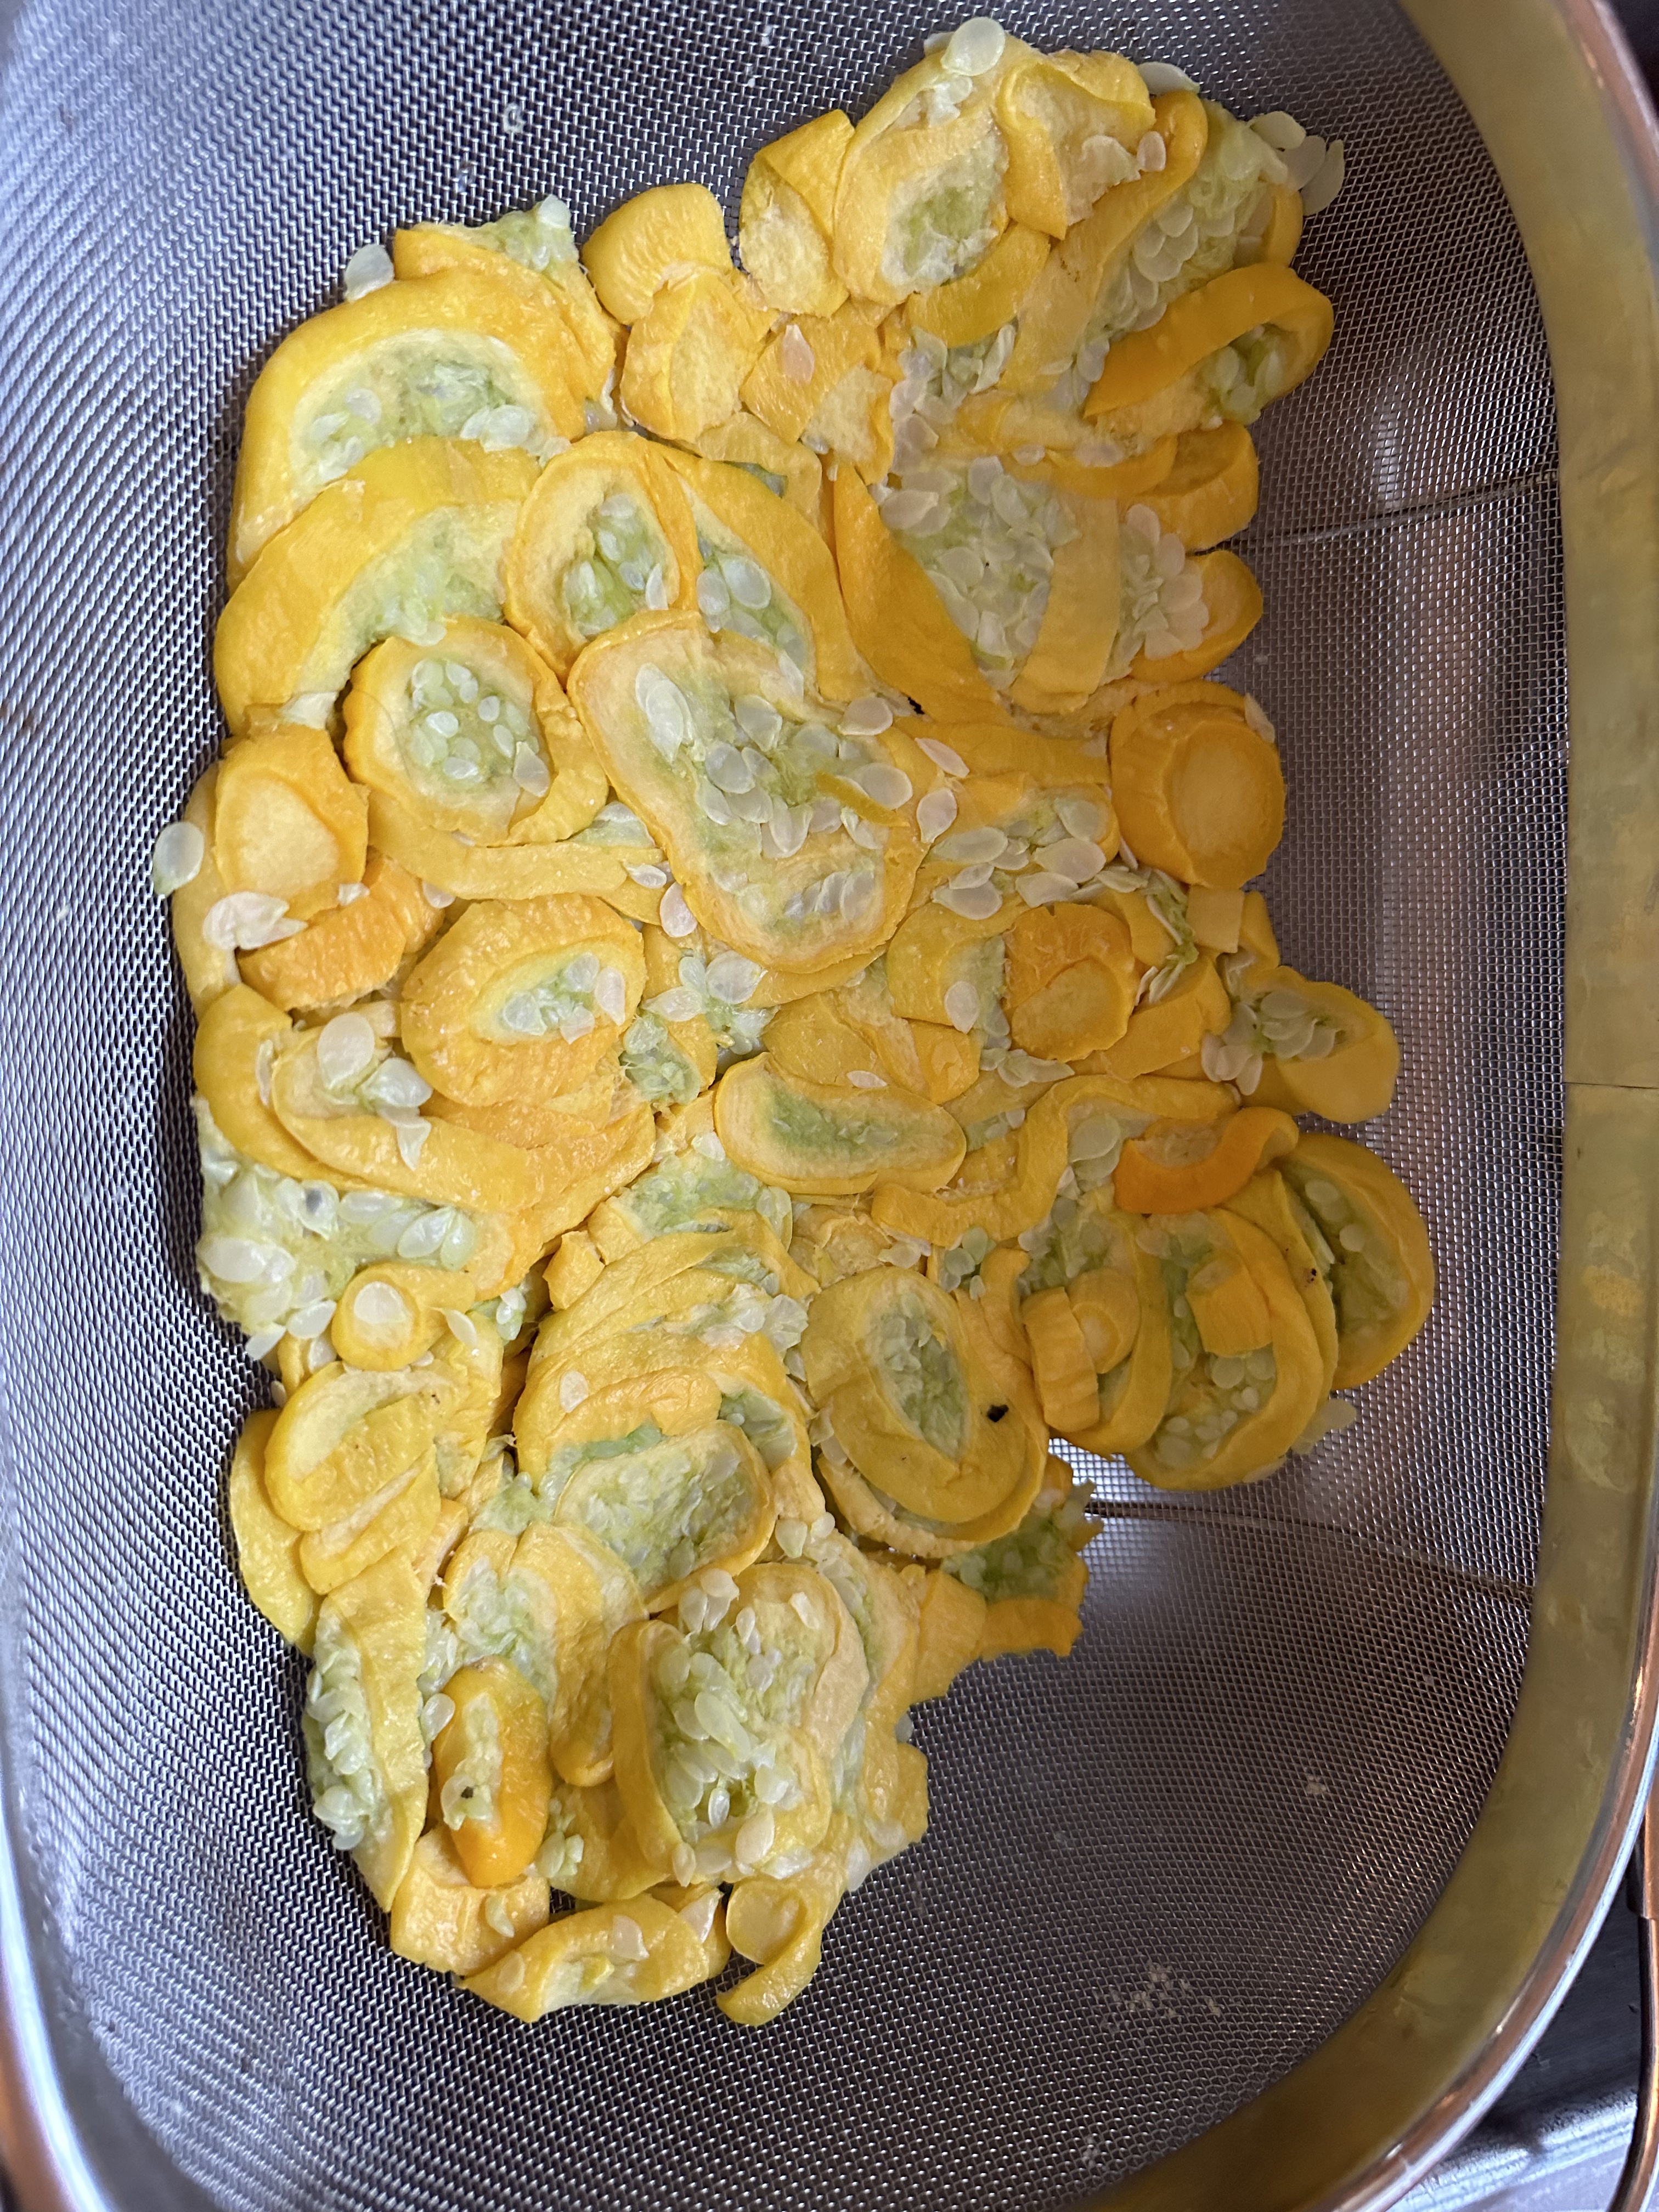
As they emerge, dripping with the remnants of their icy respite, the squash undergo a final act before they take the stage in a culinary spectacle. It’s a meticulous draining, a ritual performed with hand towels as accomplices, aiming to extract every lingering droplet of water. The goal? A canvas devoid of excess moisture, ready to absorb the flavors and nuances of the impending recipe.
Now, whether these jewels find their destiny immediately or are destined for a future culinary rendezvous, the freezer becomes their sanctuary. A Ziploc bag, a hermetic seal, and these frozen emblems of summer await their cue to shine once more.
And here’s a culinary secret: the magic of frozen squash lies not just in their preservation but in their textural transformation upon thawing. It’s a culinary alchemy that extracts even more essence from these frozen gems, making them my preferred choice for the recipes that follow.
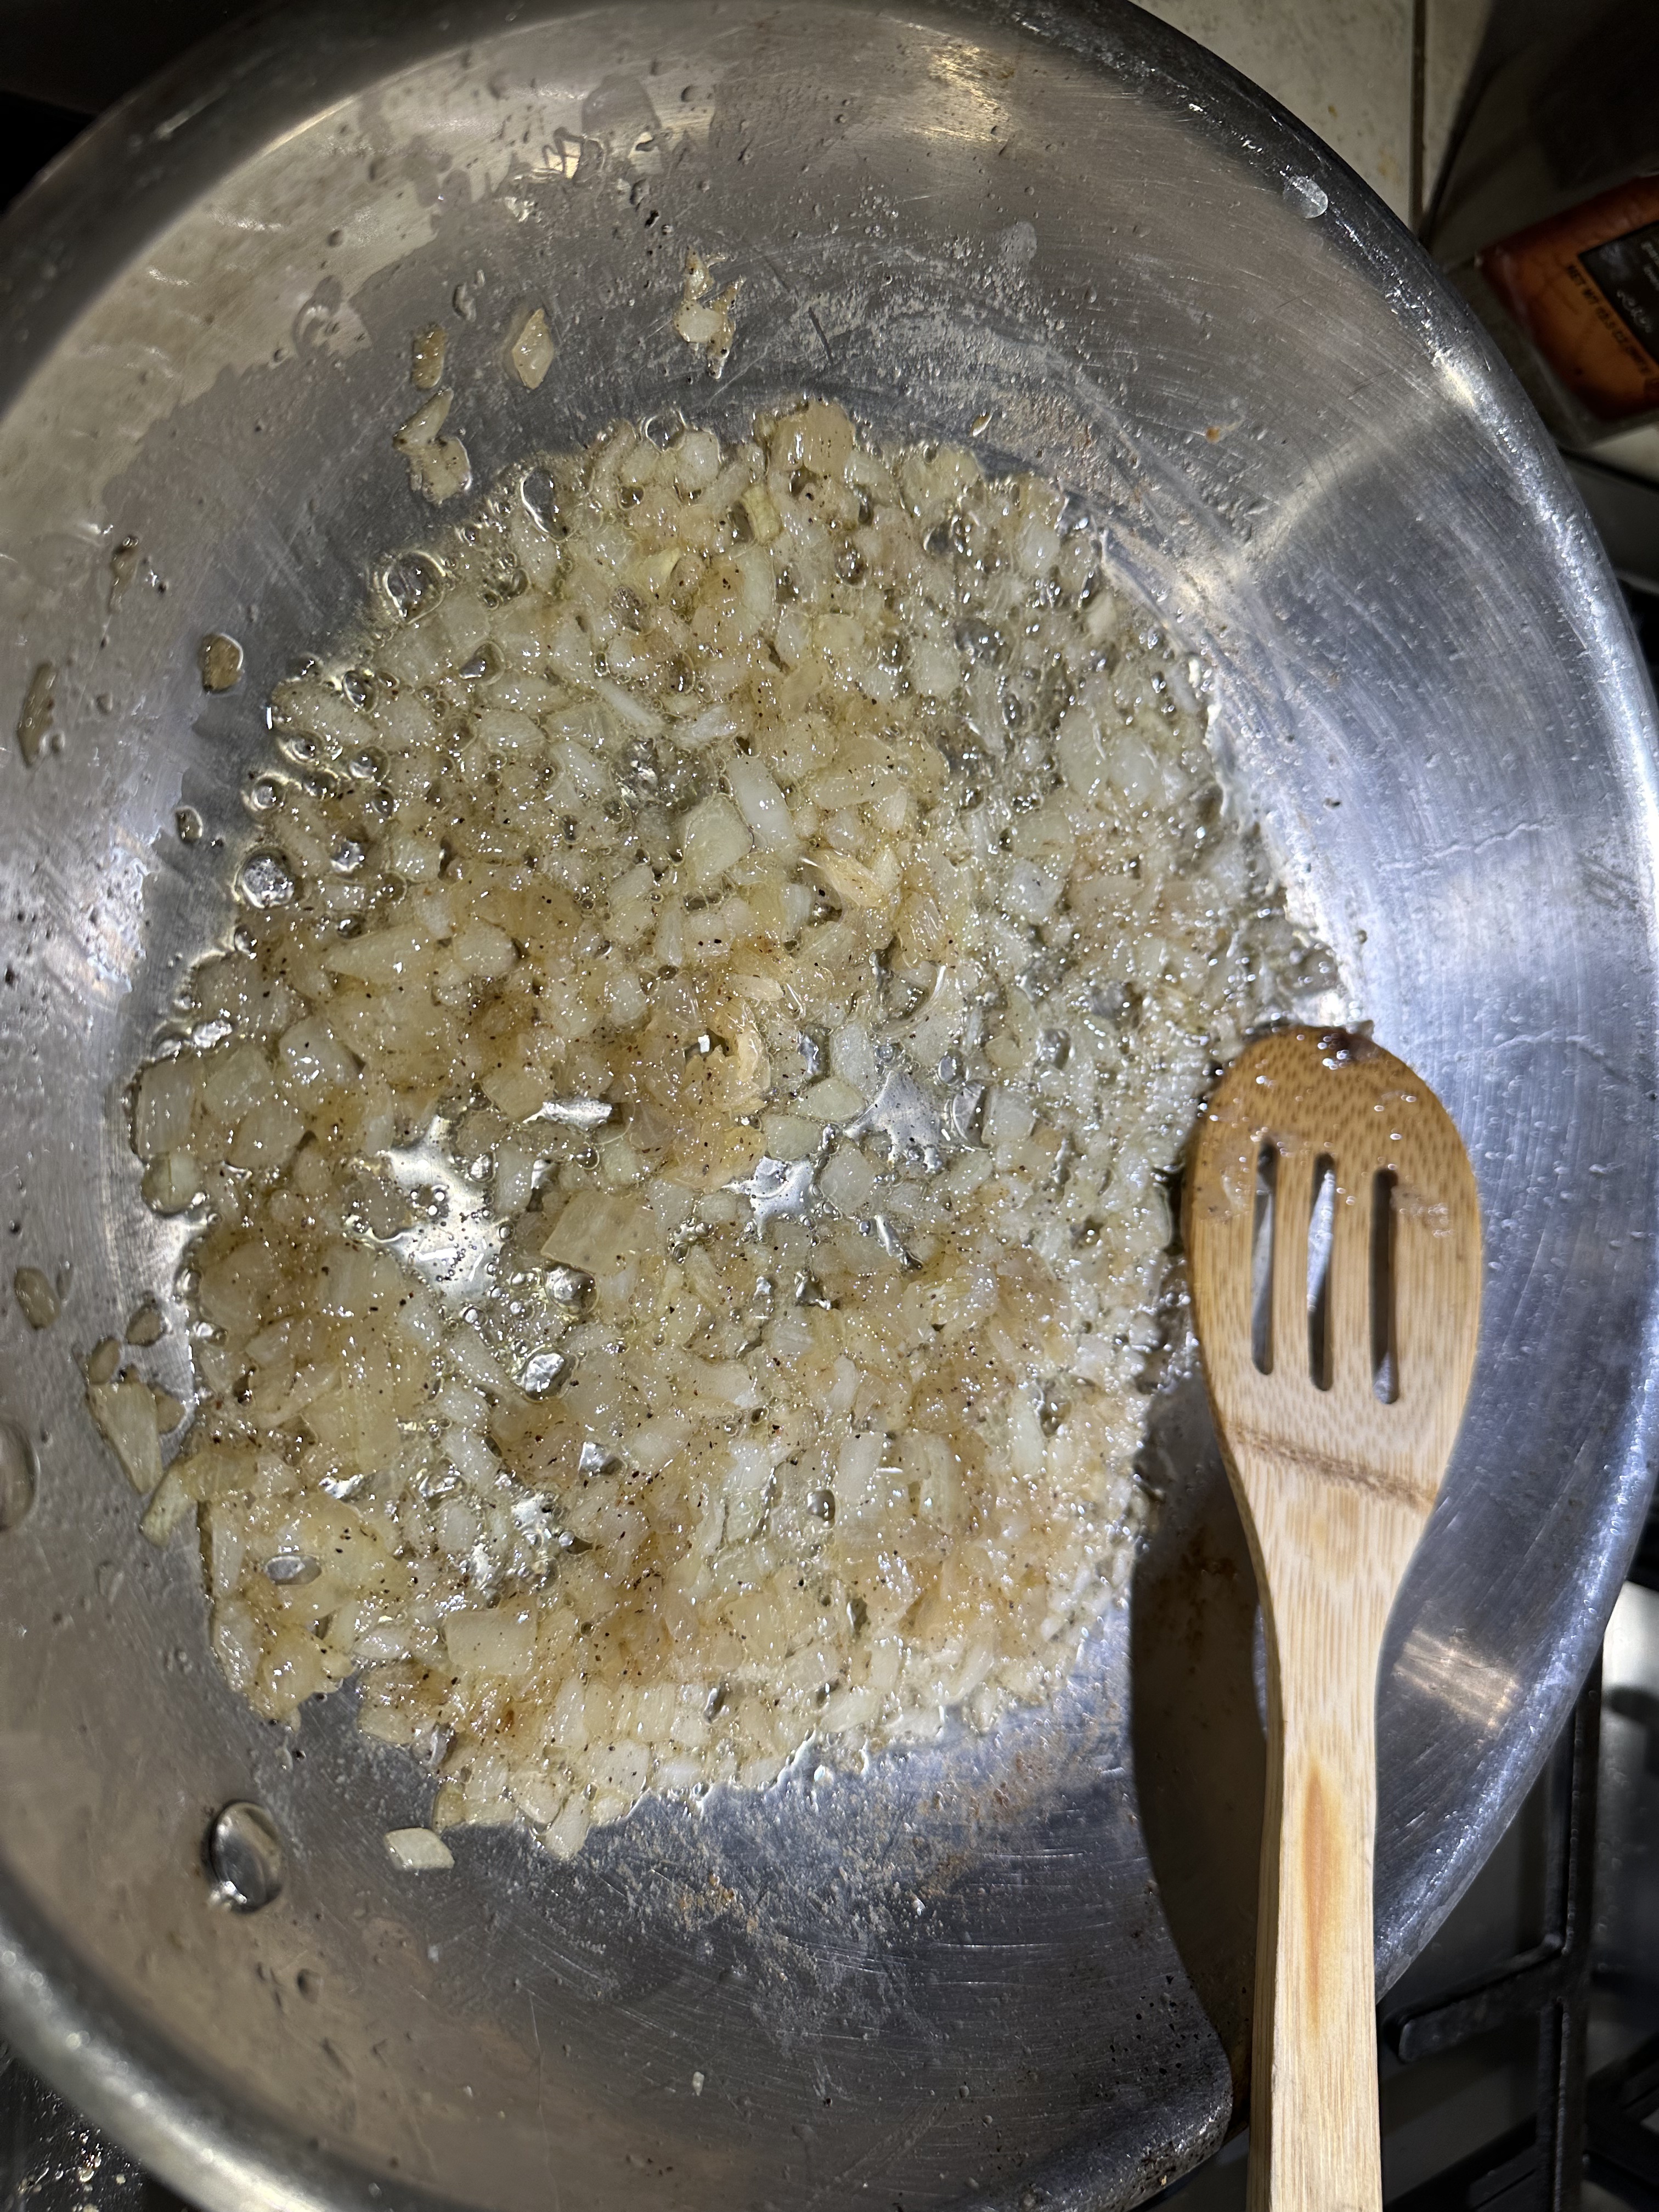
Now, let’s segue seamlessly into the culinary symphony that brings this squash masterpiece to life. Begin by taking half of a crisp onion and skillfully dicing it into savory confetti. In a medium skillet, embark on a buttery journey—melt four tablespoons over a medium flame, creating a golden pool of liquid velvet. Once the butter gracefully surrenders to the heat, introduce the diced onion to the sizzling embrace, sautéing until it metamorphoses into translucent perfection. Throughout this aromatic dance, season generously with a sprinkle of salt and a dash of pepper, letting the flavors harmonize.
In a spacious mixing bowl, assemble the cast of characters for this culinary ensemble: the blanched squash, now primed and ready, joins forces with the sautéed onions, creating a duet of textures and flavors. To this medley, add the rich notes of cheddar cheese, the creamy overtures of sour cream, the velvety crescendo of cream of mushroom soup, and the binding harmony of a single egg. With a gentle fold and a culinary cadence, unite these ingredients until a harmonious melody echoes through the bowl.
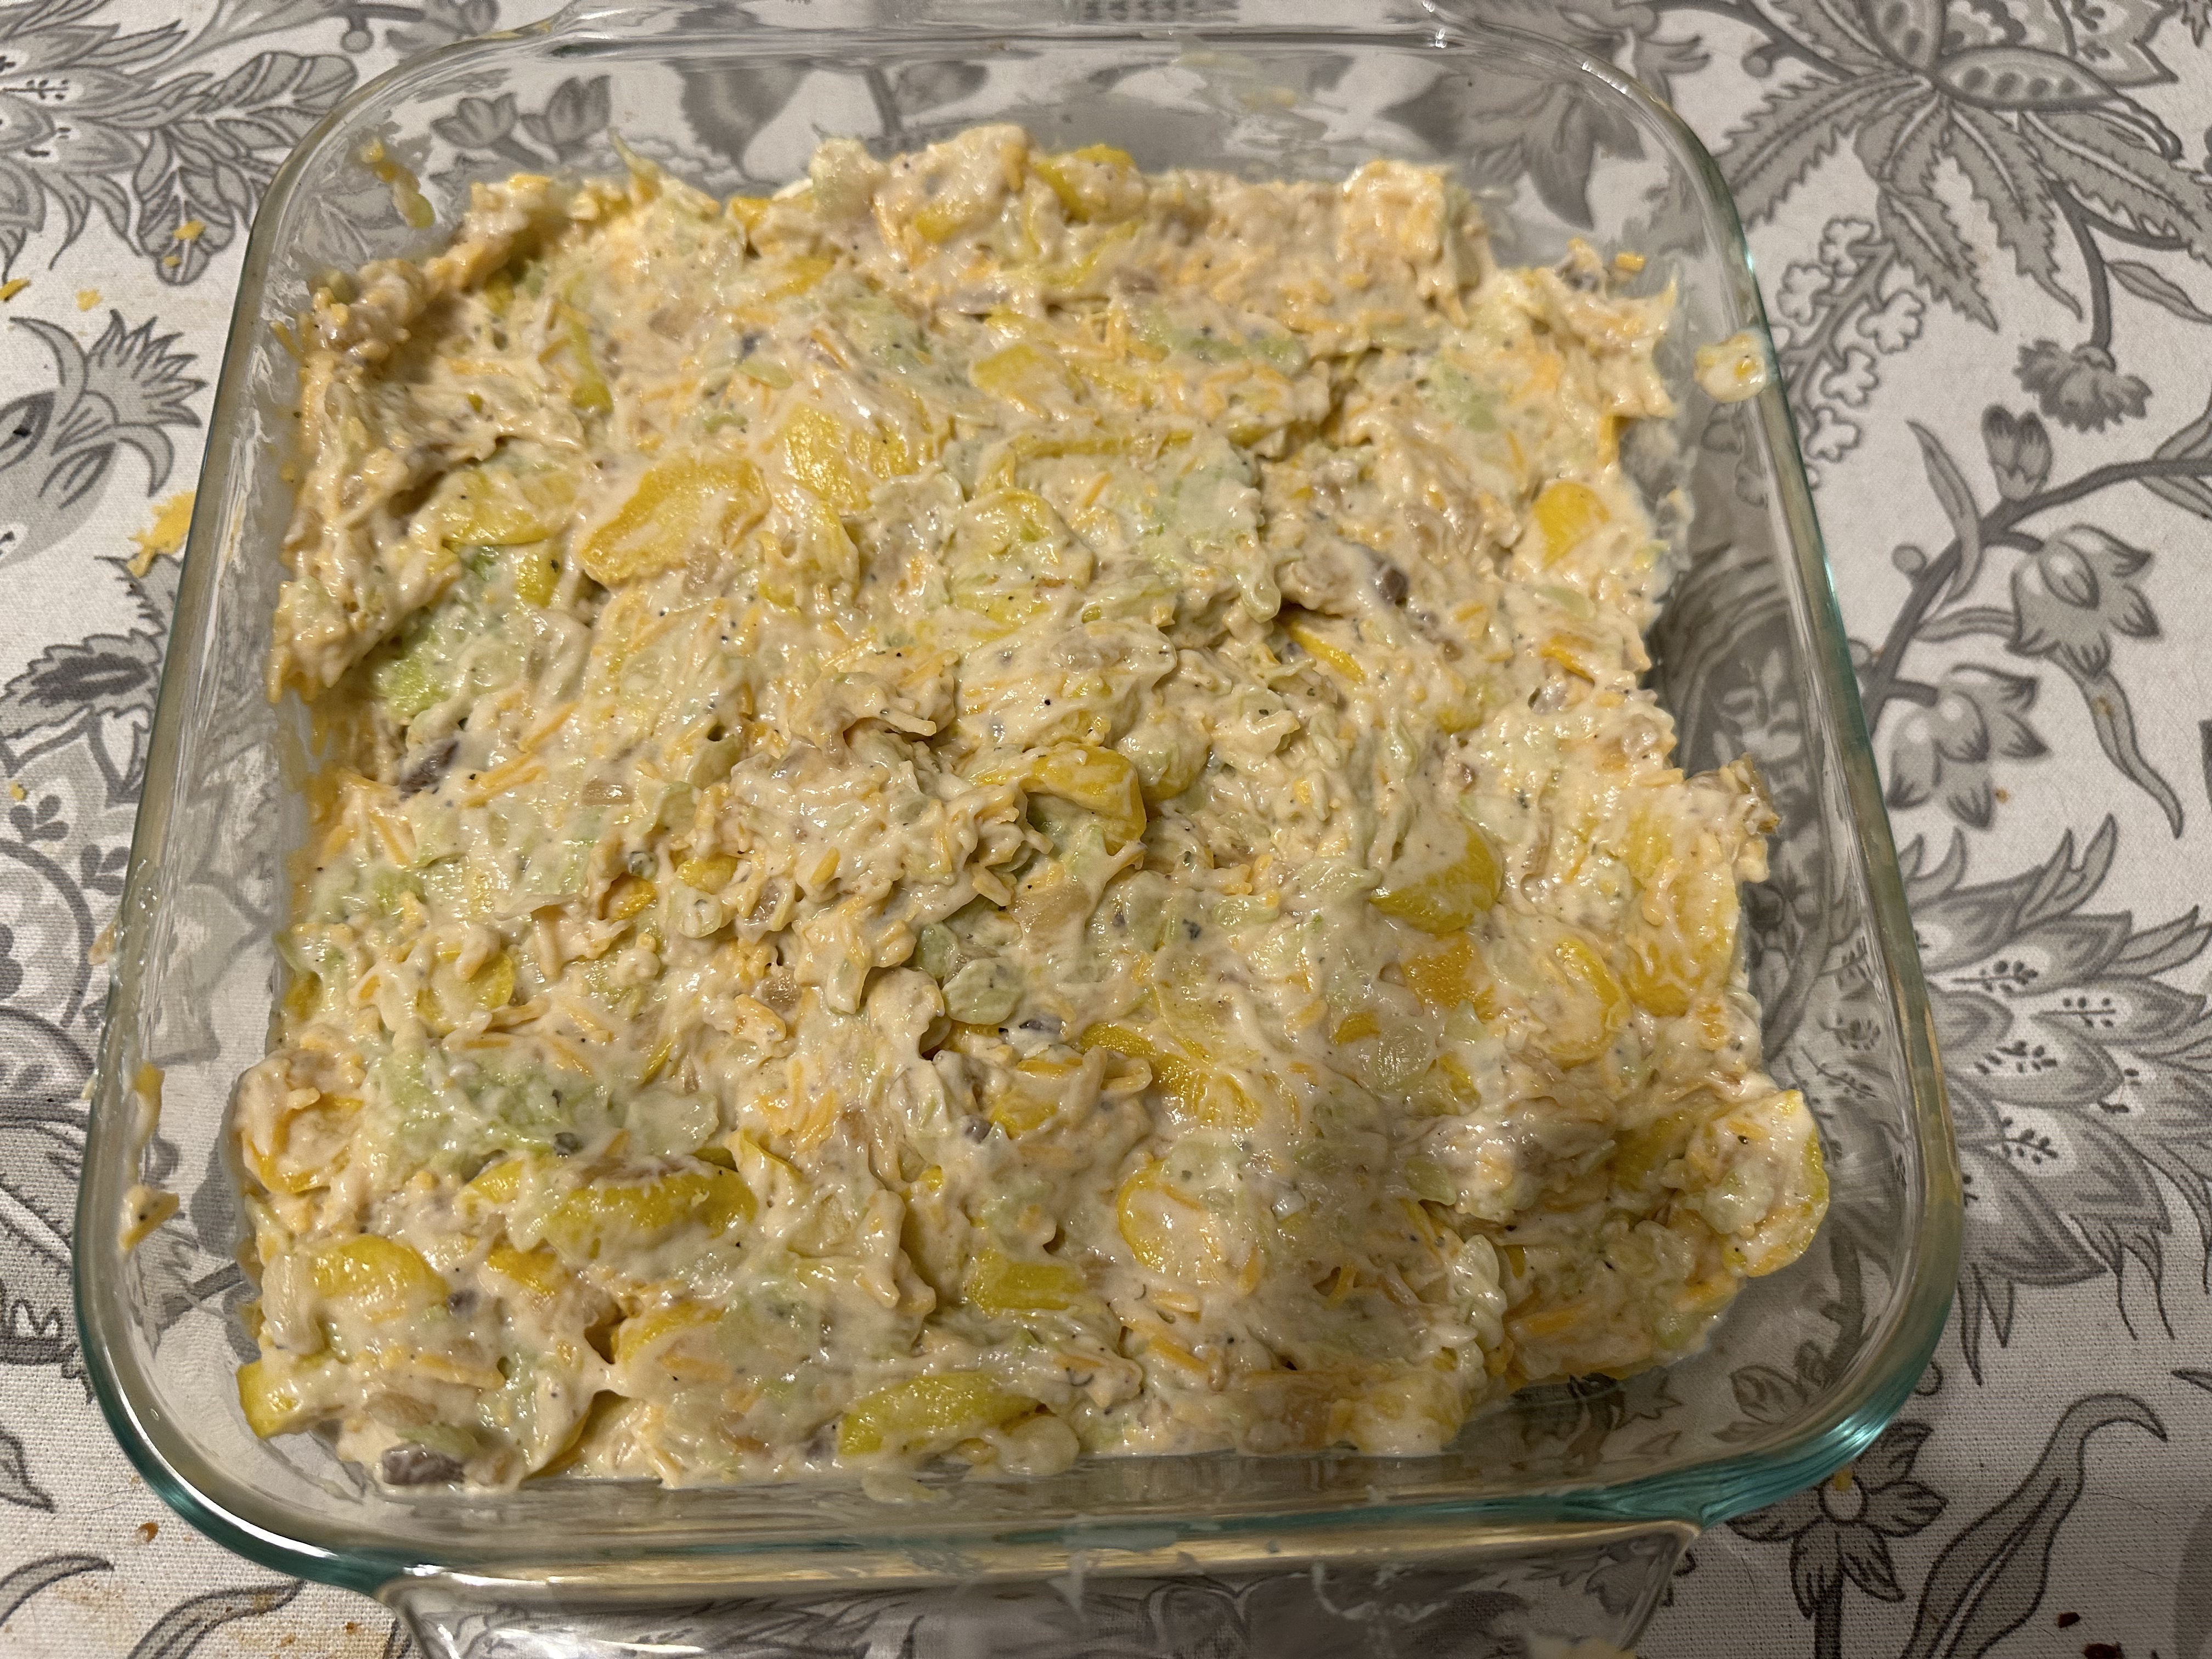
With the ensemble perfectly orchestrated, transfer the symphony into a square baking dish—the stage where culinary magic unfolds. Set the oven’s tempo to 350 degrees and let this creation bask in its warmth for a minimum of thirty-five minutes, until the concoction simmers and bubbles, teasing your senses with anticipation. But the culinary crescendo doesn’t end there.
As you unveil this bubbling masterpiece from the oven, sprinkle a confetti of crushed cheese crackers atop the golden surface. Return it to the oven for a final curtain call, baking for an additional five to ten minutes, allowing the crackers to meld into a golden crescendo.
But, dear epicurean, exercise patience. Let this gastronomic creation stand for at least five minutes before the grand finale. Then, and only then, shall you embark on the journey of savoring the culmination of flavors—each bite a poetic ode to the fusion of squash, creaminess, and the symphony of seasonings. Enjoy the harmonious masterpiece you’ve crafted, a culinary sonnet that dances on the taste buds and lingers in the memory.
Squash Casserole
Ingredients:
2 lbs. of blanched squash
Salt and Pepper
4 Tbsp. of Unsalted Butter
½ diced Onion
¼ cup of Sour Cream
1 can of Cream of Mushroom (preferrable cream of mushroom with roasted garlic)
1 Egg lightly beaten
1 cup of shredded Cheddar Cheese
Directions:
- Once the squash is blanched, while the squash is still in the colander use hand towels to press as much of the water out of the squash as possible.
- Melt the butter in a medium skillet over medium heat. Sauté the onion until it is translucent. Season with salt and pepper throughout the cooking process.
- Combine the squash, onions, sour cream, cheddar cheese, cream of mushroom soup, and egg in a mixing bowl.
- Preheat oven to 350 degrees. Place mixture in a baking dish and bake for approximately thirty-five minutes.
- Remove from the oven and top with crushed up cheez its. Bake for another five minutes. Allow to sit for at least five minutes before eating.
This recipe can be made a day ahead. Enjoy!

Leave a comment