Down here in the Southern states, Banana Pudding isn’t just a dish—it’s practically a potluck institution. Now, I’ll level with you, I used to think I was no fan of banana pudding. Sure, I’d munch on the occasional banana, but when it came to desserts, banana pudding was never my first choice. That was until a revelation struck me like a bolt of sweet-toothed lightning a few months back.
Picture this: my dad, armed with a bowl of his legendary banana pudding, stepped through my door. Little did I know that his creation was about to perform a dessert makeover on my taste buds. Lo and behold, it wasn’t just me—my entire family did a 180 on their banana pudding opinions that day. Intrigued, I decided to share the creamy delight with my in-laws. To my delight, the consensus was unanimous—it was unanimously deemed the best banana pudding they had ever tasted.
Naturally, I couldn’t keep this culinary magic to myself, so I did what any responsible dessert enthusiast would do—I pried the recipe out of my dad’s hands. And now, dear reader, I’m thrilled to pass on this golden ticket of banana pudding perfection to you. Get ready to embark on a flavor journey that will convert even the staunchest banana pudding skeptics into die-hard fans.
Now, before you dive headfirst into the delicious world of banana pudding, let’s chat about a couple of crucial details to ensure your dessert triumph. First and foremost, patience is the name of the game here. This banana pudding demands a bit of forethought, as it insists on being prepared a day in advance. Why, you ask? Well, it’s all about letting those exquisite flavors mingle and reach their peak potential. A stint of at least eight hours in the refrigerator is the minimum—think of it as a dessert meditation session. And if you can swing it, letting it chill overnight is like giving your banana pudding a VIP pass to flavor town.
Now, onto the cream cheese, the unsung hero of this decadent creation. Picture this: it’s the day of pudding preparation, and before you start mixing and layering, make sure to liberate that cream cheese from its chilly abode in the refrigerator. Allow it to bask in room temperature glory for a few hours, letting it soften up and become the velvety, creamy superhero your banana pudding deserves. This step is a game-changer, ensuring that every spoonful of your pudding is an indulgent, smooth experience that will have your taste buds doing a happy dance.
Now, let’s talk logistics. Since I often whip up this delightful banana pudding for potlucks, I’ve found that those disposable aluminum pans are an absolute lifesaver. Aim for a size in the ballpark of 9x7x3, though, to be honest, the sizes can be a bit like a box of chocolates—varying. The other day, I scrounged up a 9×6.5×2.5 pan, and while it worked like a charm, it was a bit of a tight fit. The key is to embrace flexibility in your pan selection and go with the flow—your banana pudding will thank you later.
Once you’ve chosen your vessel, give it a little love by lightly greasing it with butter on all sides. Now, onto the mixing magic. If you’re the proud owner of a stand-up mixer, rejoice! This recipe was practically made for it. Alas, if you find yourself in the hand-mixer camp (like yours truly), fear not—great banana puddings have been created with less.
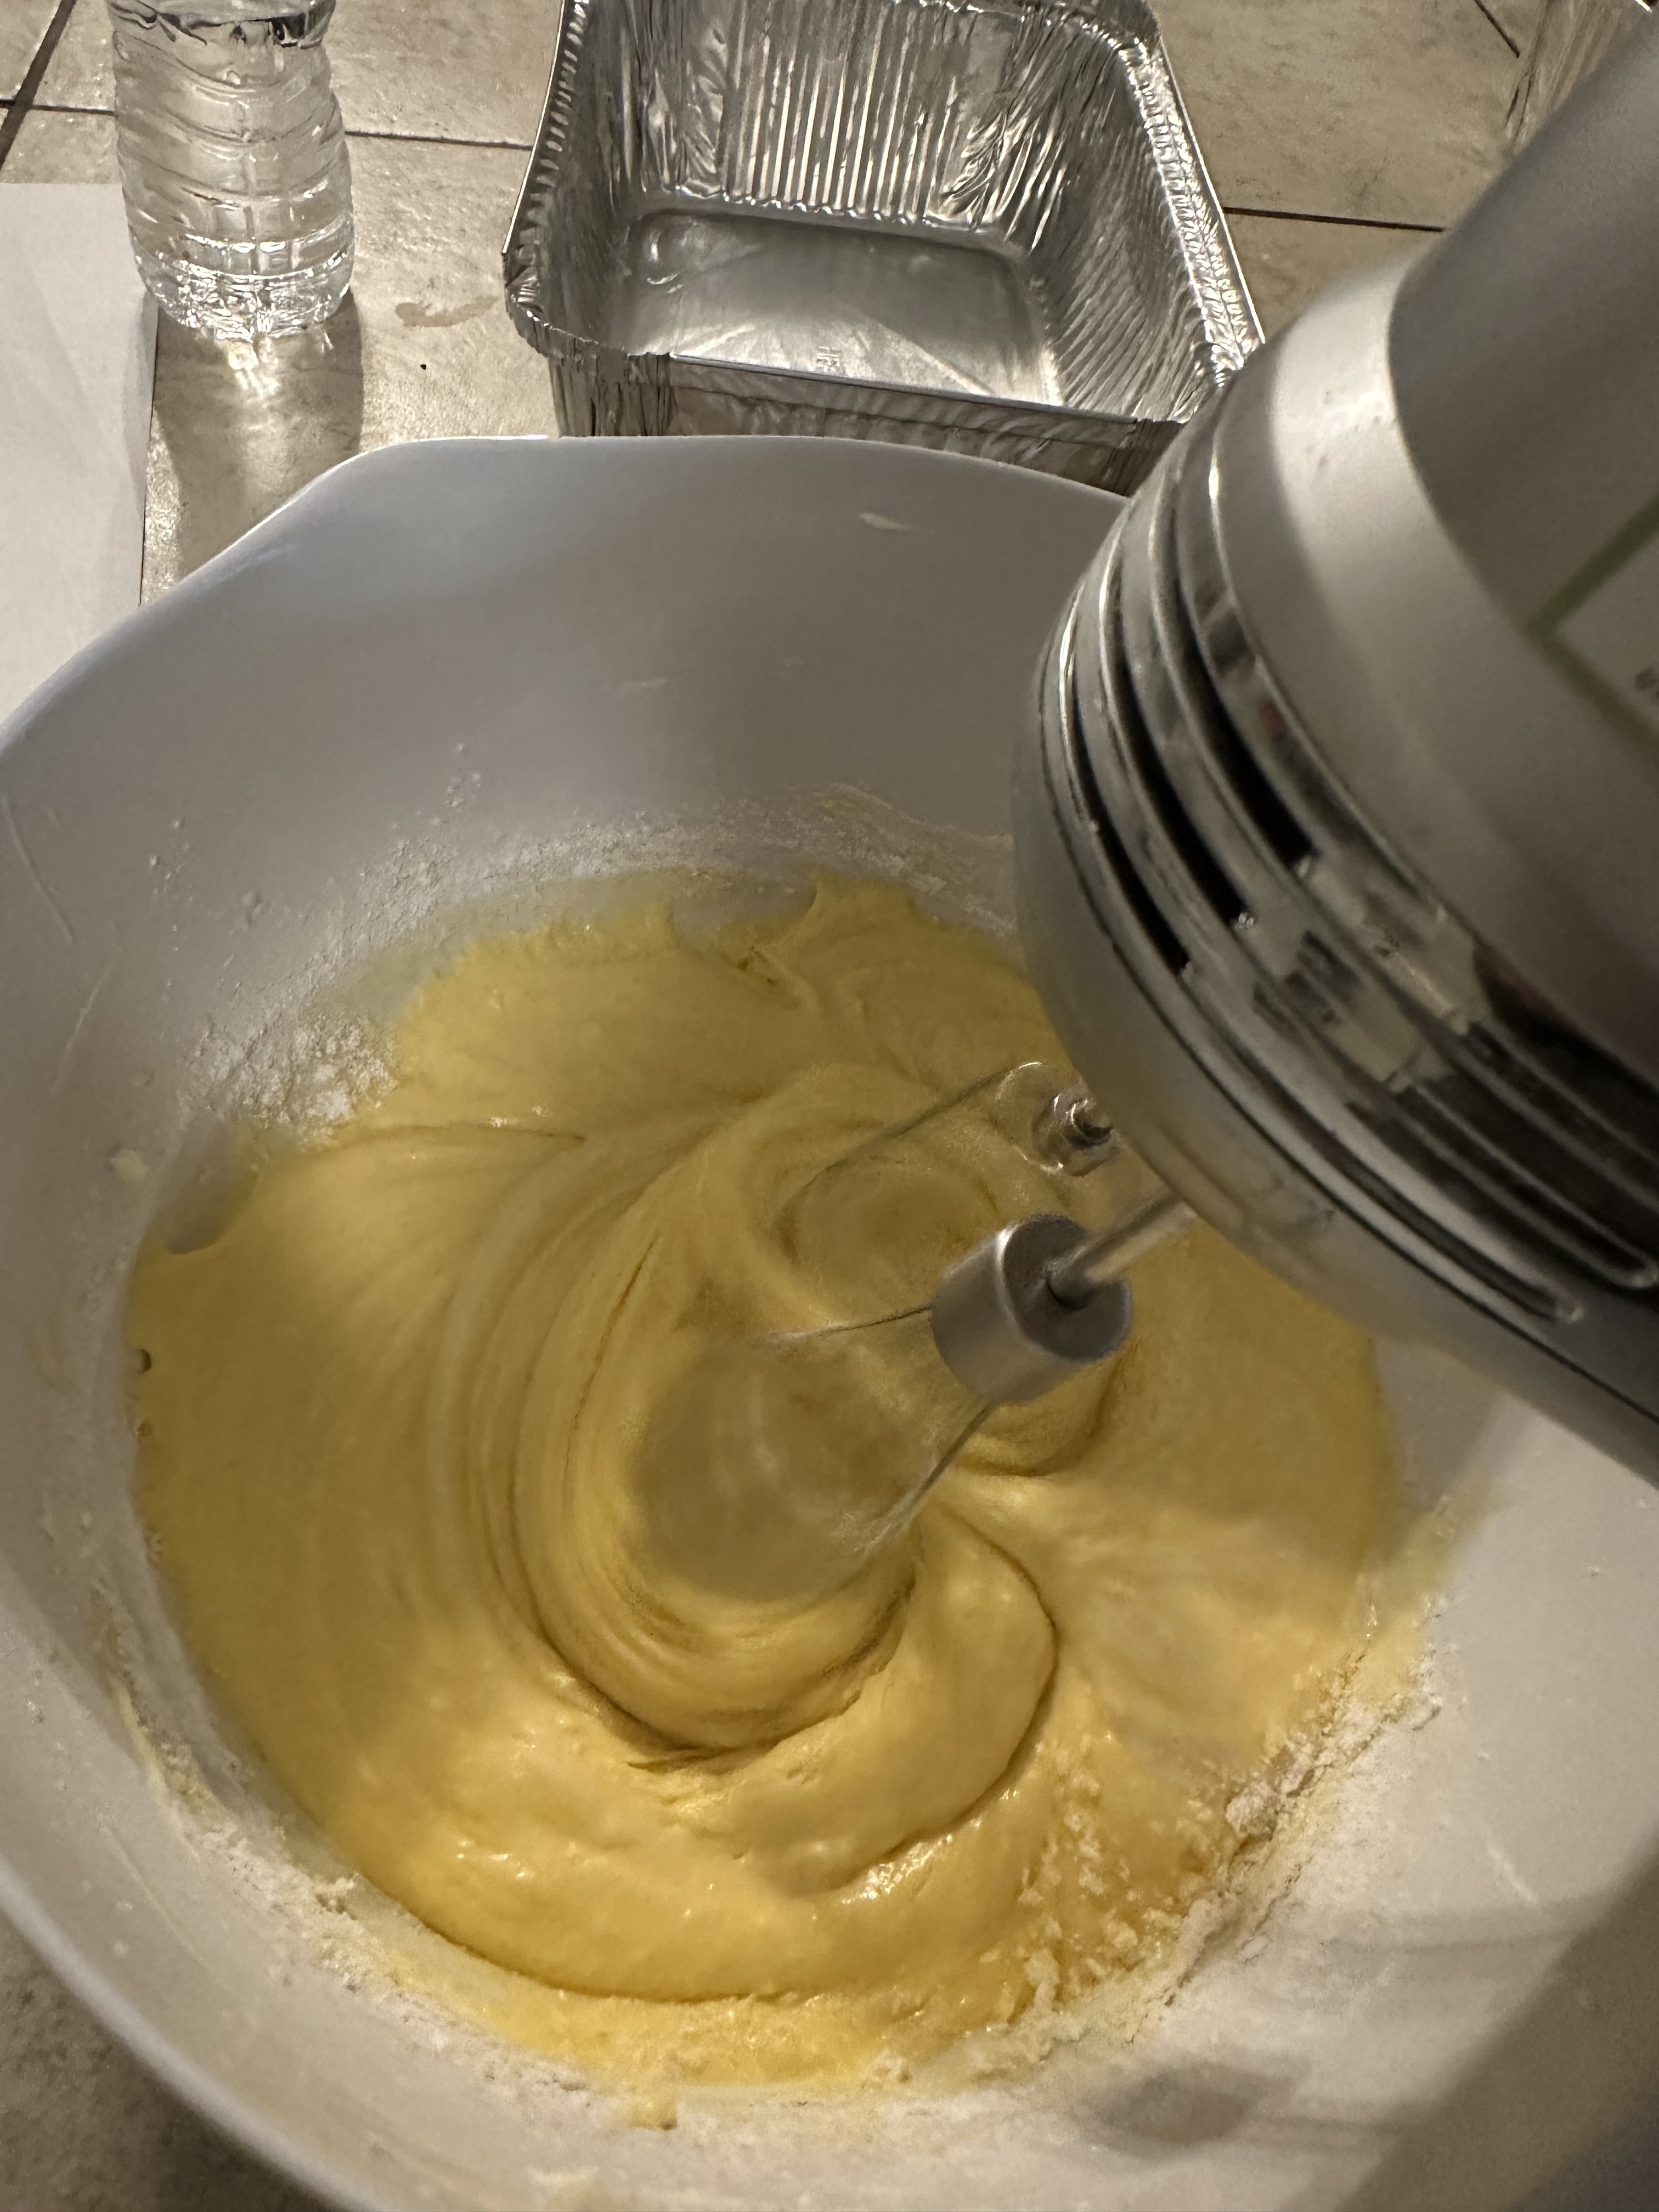
Grab your mixer of choice and a generously sized mixing bowl. Into this bowl goes the cream cheese, and now, let the whipping commence! Set your mixer to medium speed with the whisk attachment, ensuring you scrape down the sides of the bowl as needed. We’re aiming for fluffiness here, folks. Once your cream cheese has achieved cloud-like status, introduce the condensed milk and vanilla extract, and let the mixer work its magic until everything is harmoniously blended.
Now, for the pièce de résistance—the pudding mix. Sprinkle it in and blend until the mixture reaches a smooth, lump-free nirvana. Here comes the gradual drizzle—first the milk, then the cream. Keep that mixer grooving until both liquids have waltzed seamlessly into the pudding party.
But the mixer’s work is not done yet. It’s time for a dramatic exit—remove the bowl from the mixer’s embrace. Now, channel your inner dessert conductor as you gently fold in about 2/3 of the cool whip into the pudding symphony. This is the moment for finesse, ensuring that the cool whip becomes an integral part of the pudding ensemble.
Behold, your masterpiece in the making! Whether you’re using a stand-up mixer or rocking the hand mixer hustle, you’re well on your way to a banana pudding that will steal the spotlight at any gathering. So, mix on and relish in the sweet anticipation of your culinary creation!
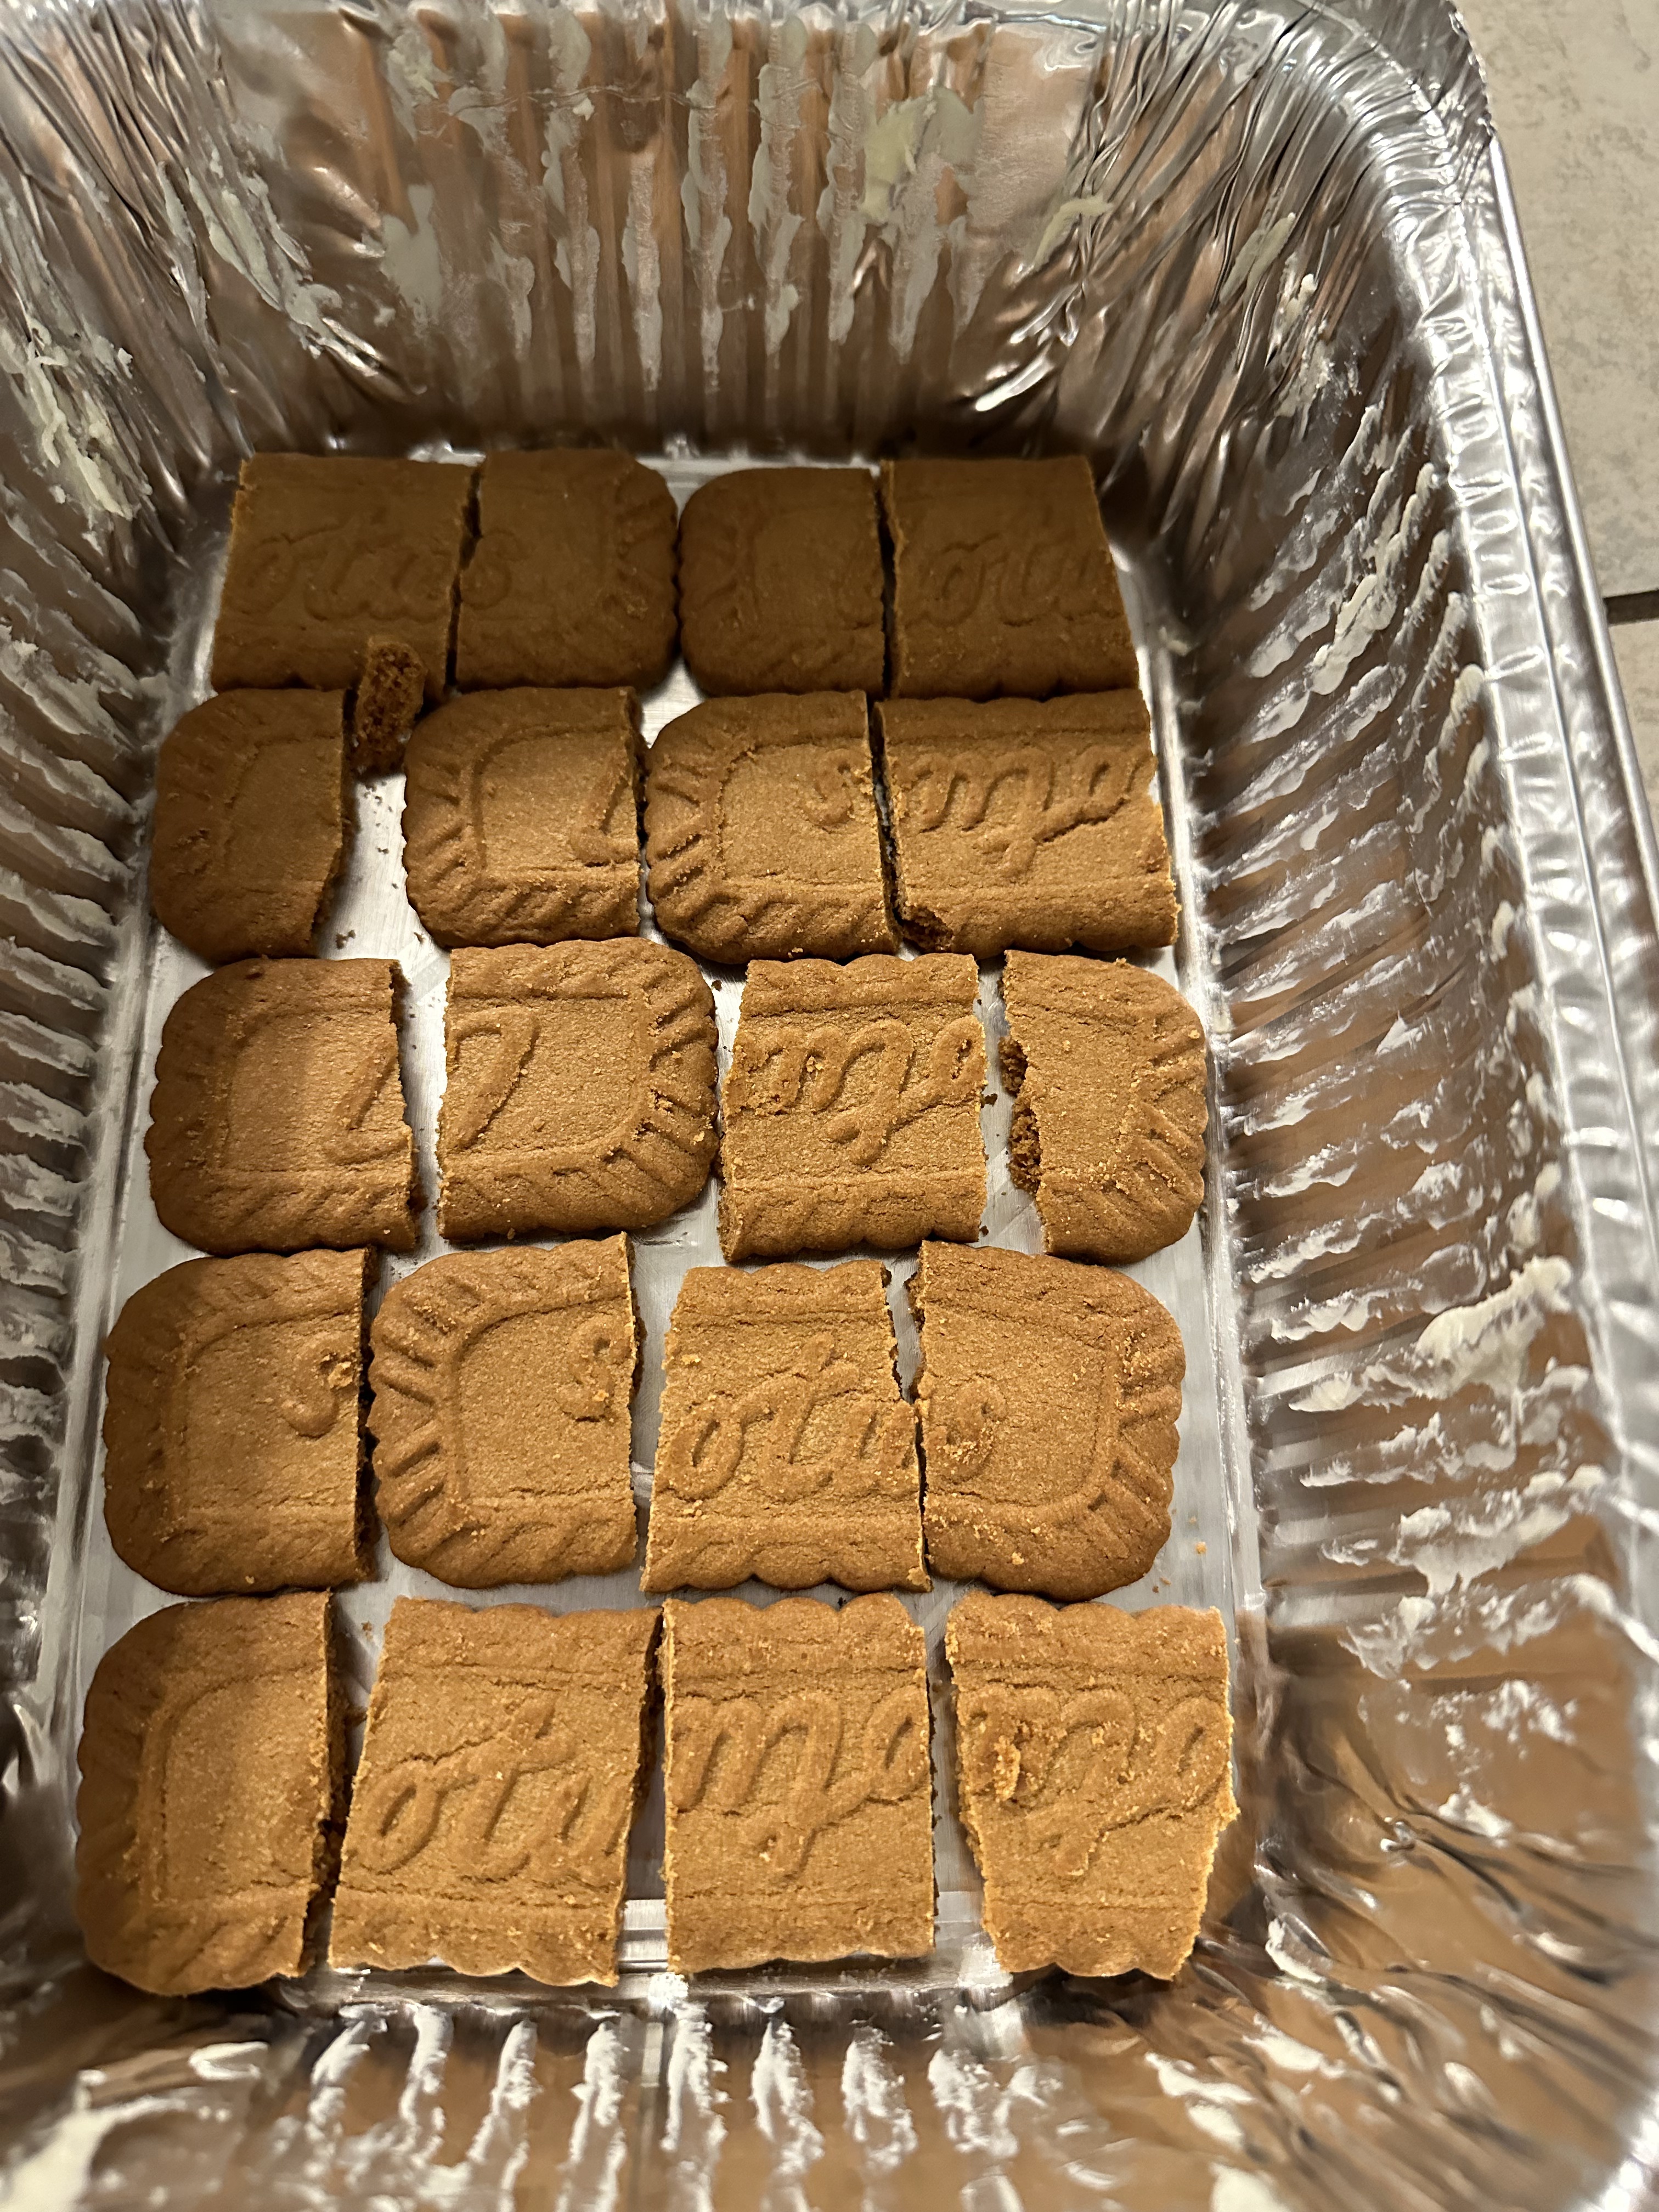
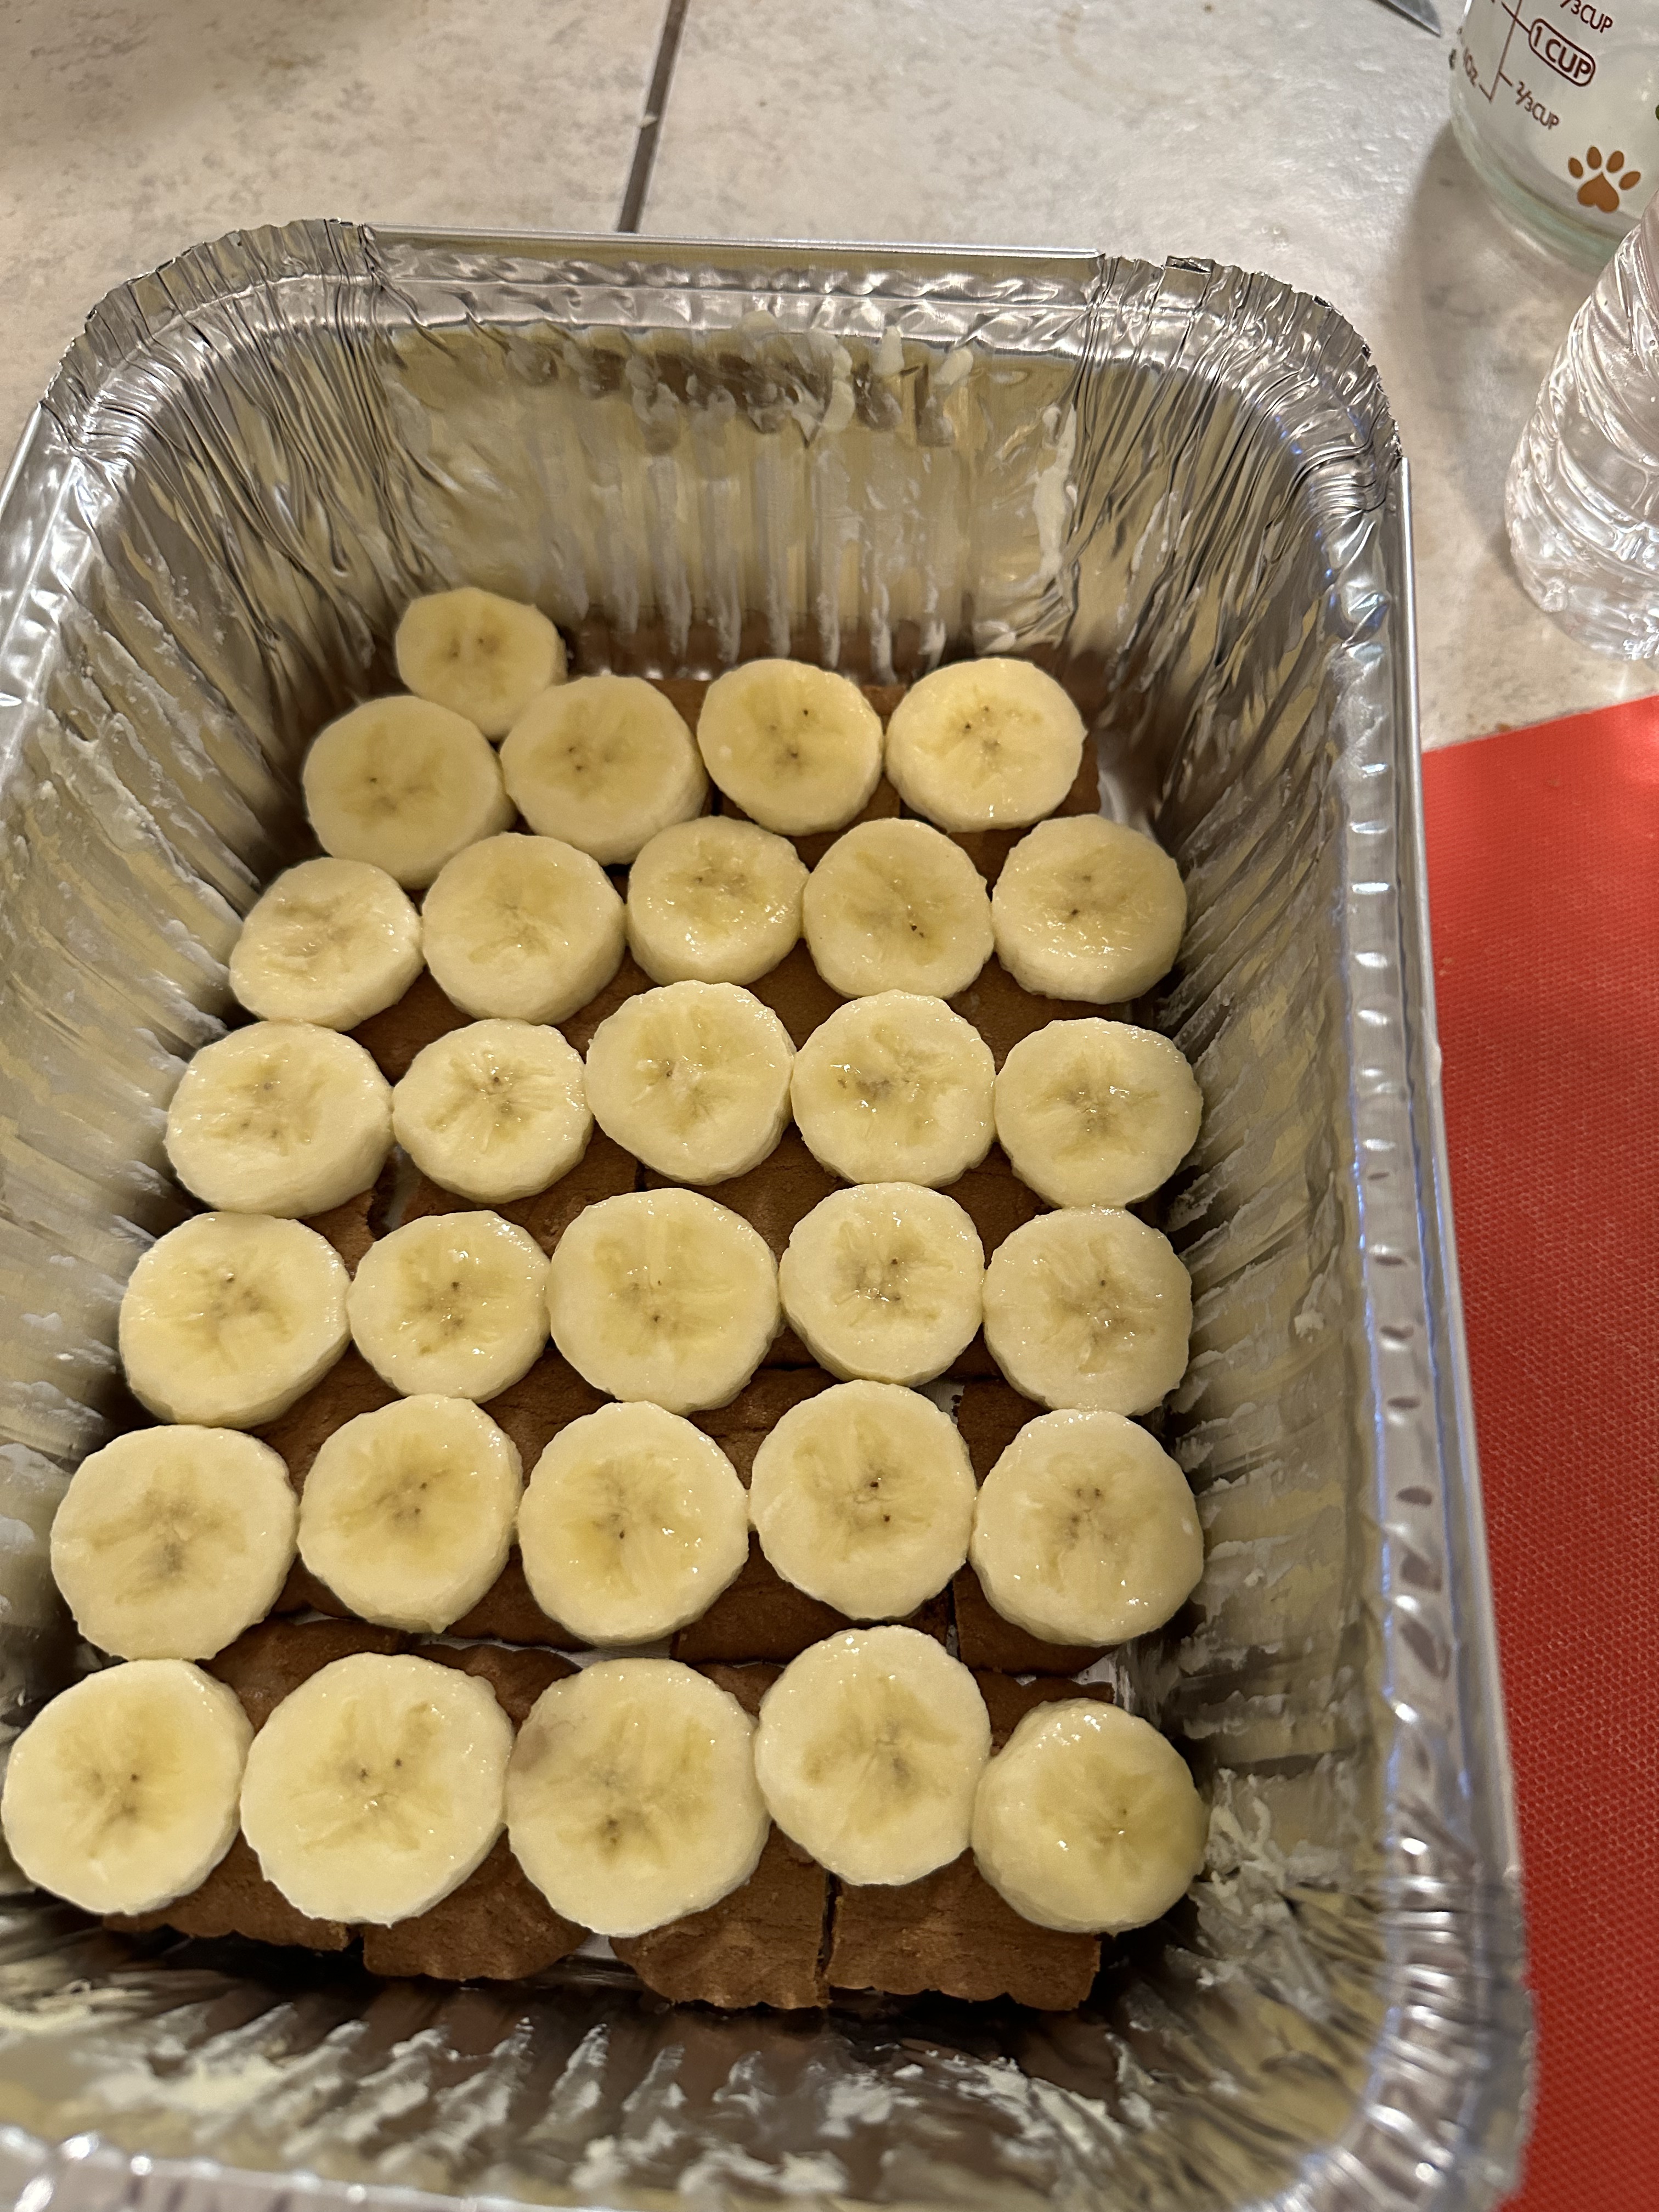
Now, let’s talk about the cookie twist in this banana pudding masterpiece. You might have already noticed that we’re shaking things up with Biscoff cookies instead of the traditional vanilla wafers. My daughters lovingly refer to these as “airplane cookies,” adding a dash of whimsy to our dessert adventure. So, grab a package of Biscoff cookies, and armed with a bread knife, transform each cookie into three even pieces. Now, a quick aside: my father, in his culinary wisdom, once suggested using an actual hacksaw for this task. While I can assure you that a bread knife will get the job done with far less drama, the mental image of a hacksaw-wielding chef is a tempting one. Once your cookies are sliced and ready, lovingly arrange them in a harmonious layer at the bottom of your greased aluminum pan.
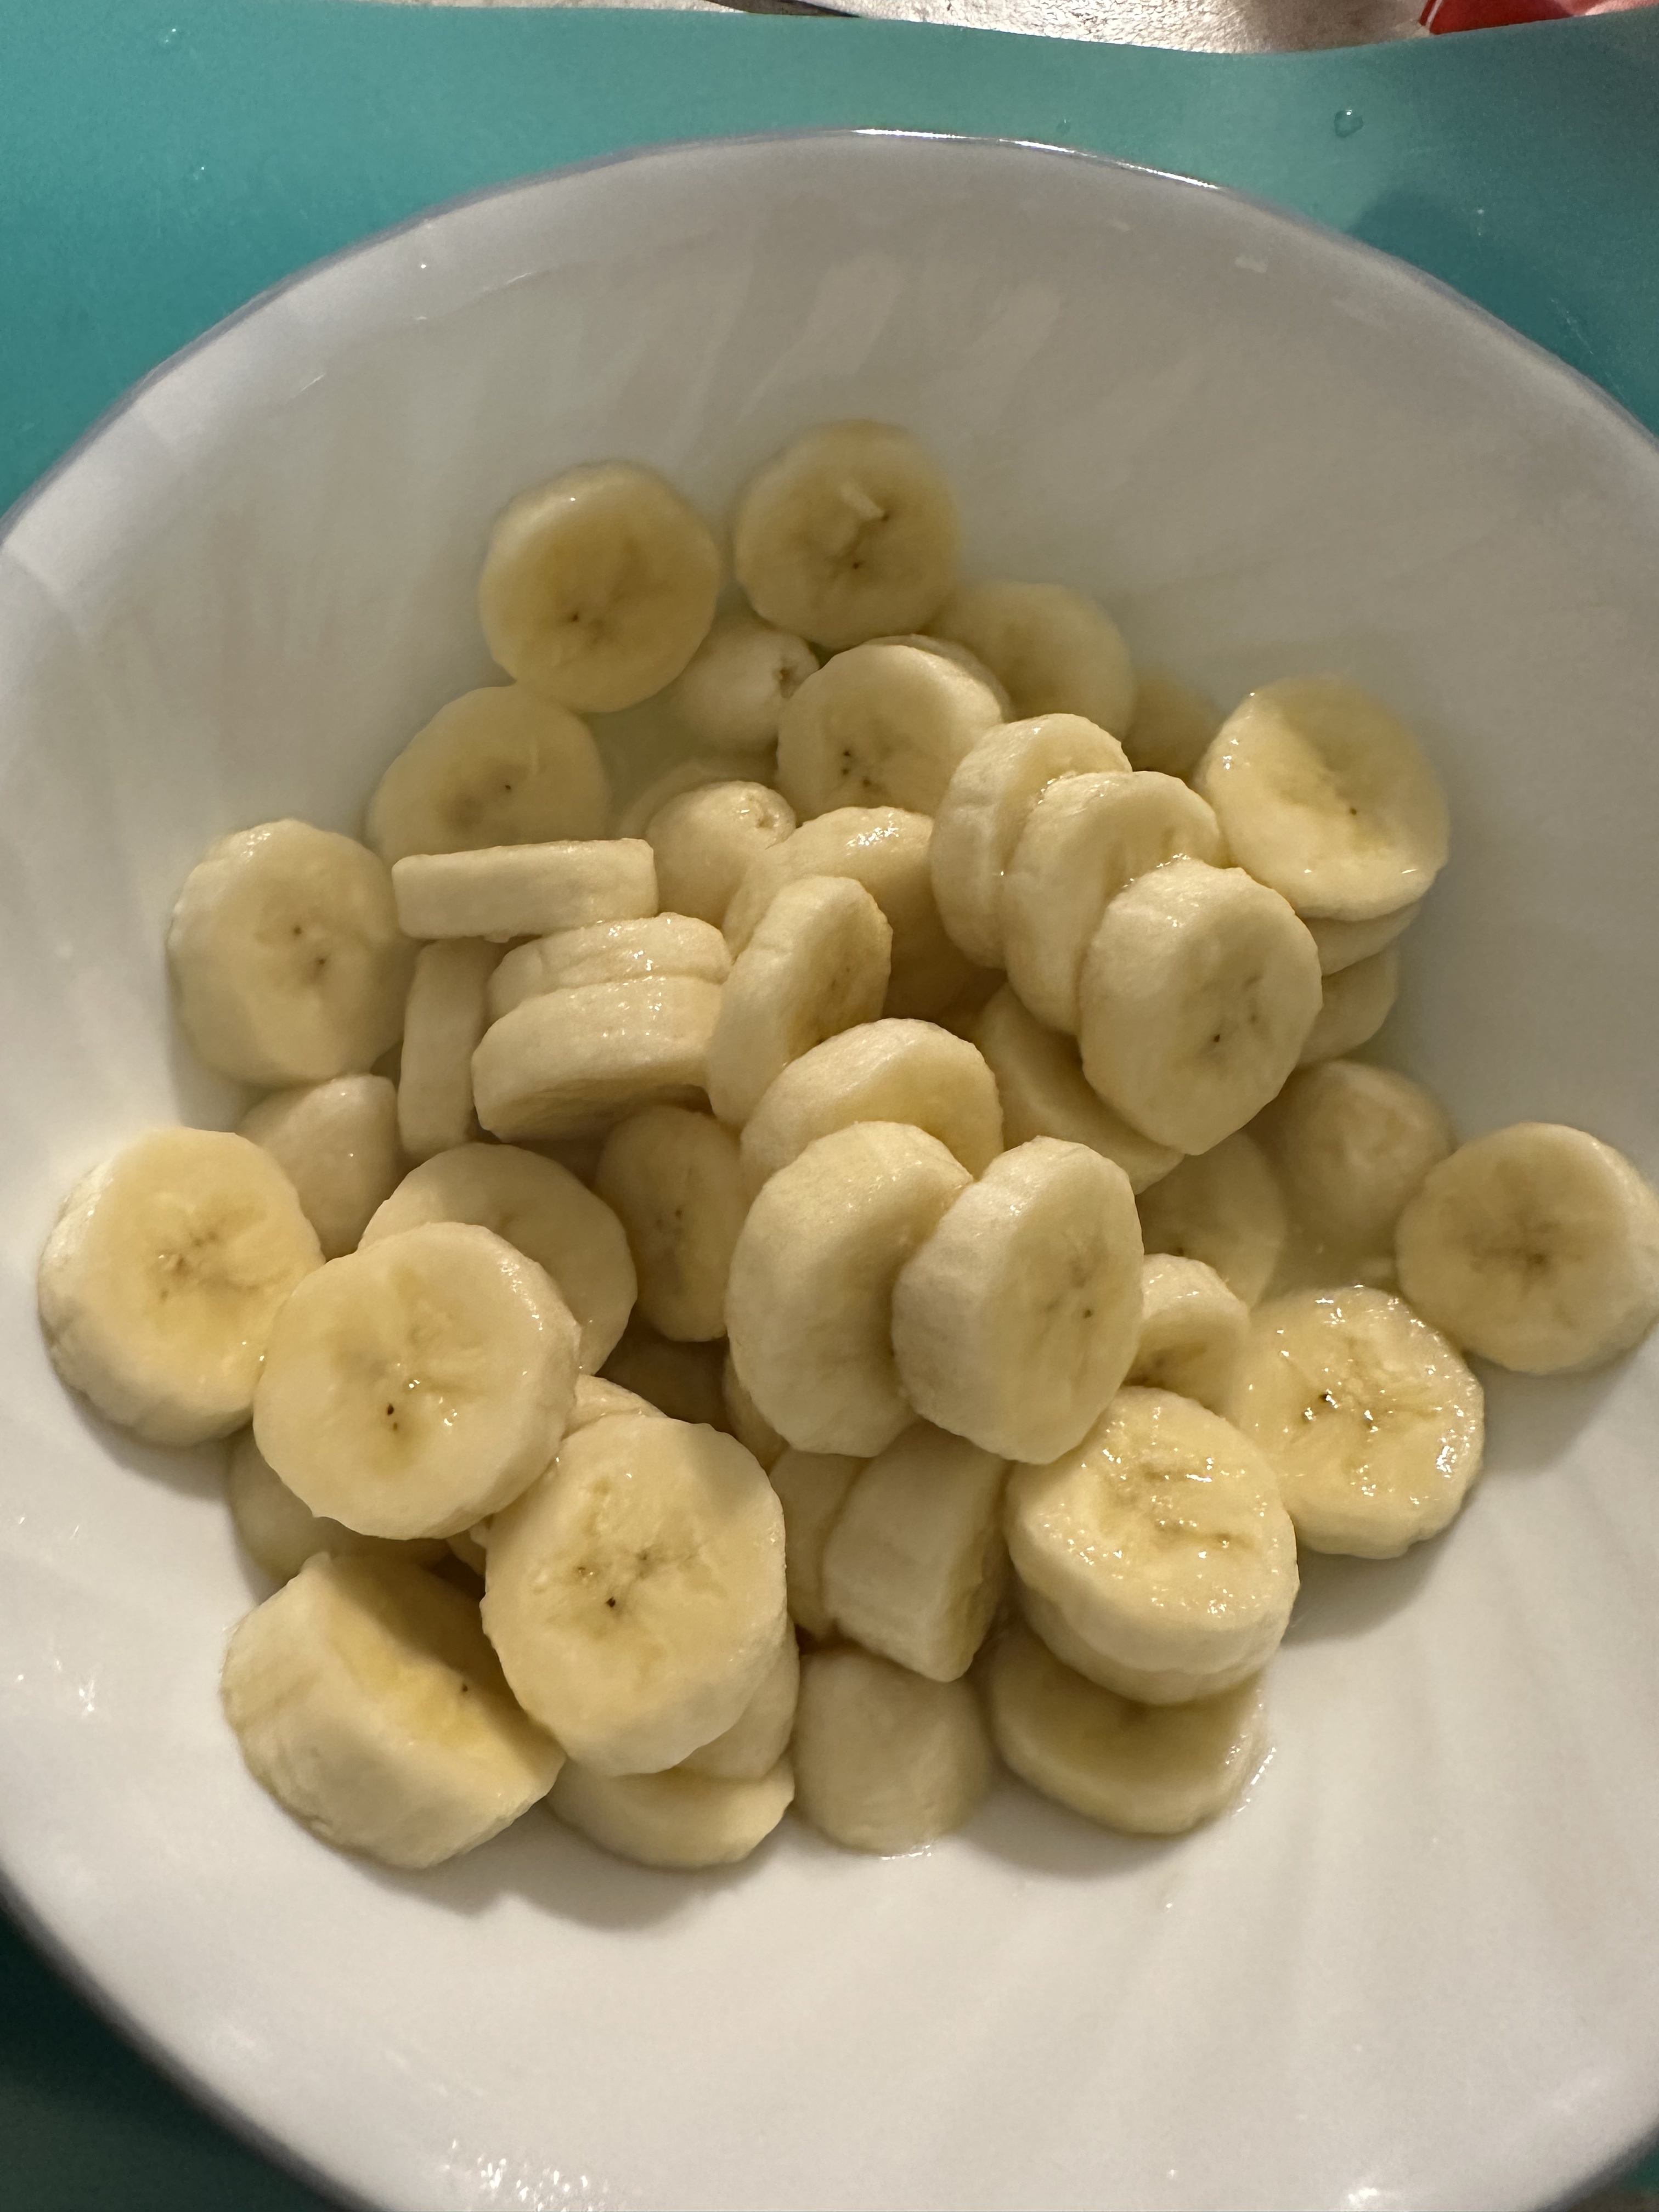
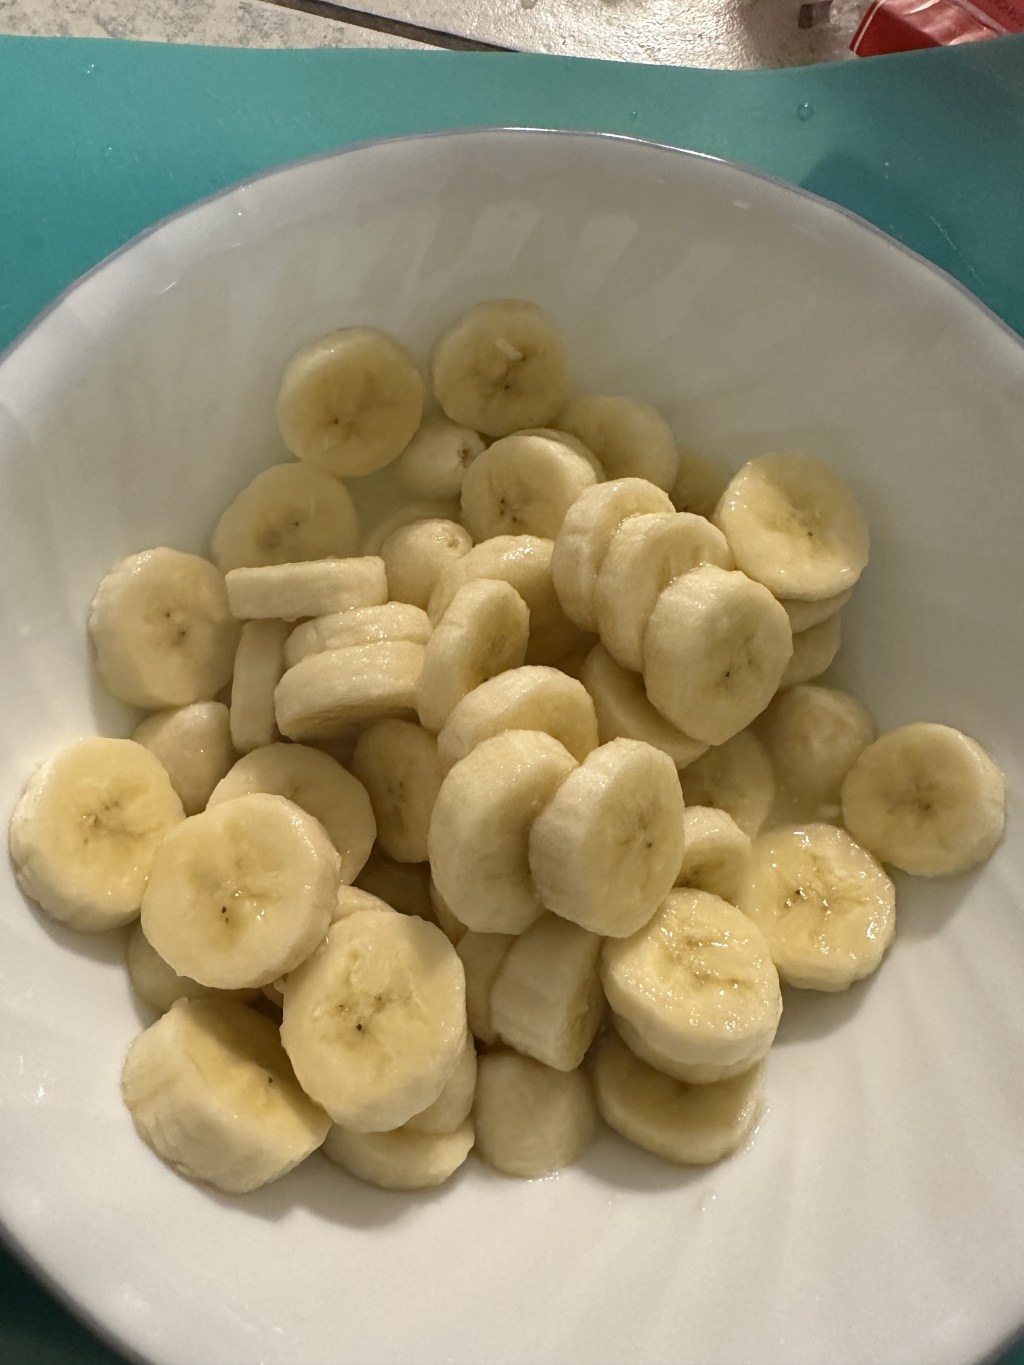
Now, let’s give a warm welcome to the true stars of our banana pudding symphony—the bananas. You’ll need four to five bananas for this culinary escapade. Opt for slightly green ones, buying them a few days in advance. Channel your inner fruit ninja and slice each banana into thin, 1/4 to 3/8-inch pieces. But here’s the secret twist: into the bowl they go, swimming in 1/4 cup of lemon juice. It might sound a bit unusual, but trust me, the lemon juice plays a subtle role, keeping those bananas looking fresh and vibrant. After all, no one wants to feast on brown bananas. Once your banana slices have taken a citrusy dip, delicately perch a slice on top of each cookie piece, crafting a new layer of our dessert canvas.
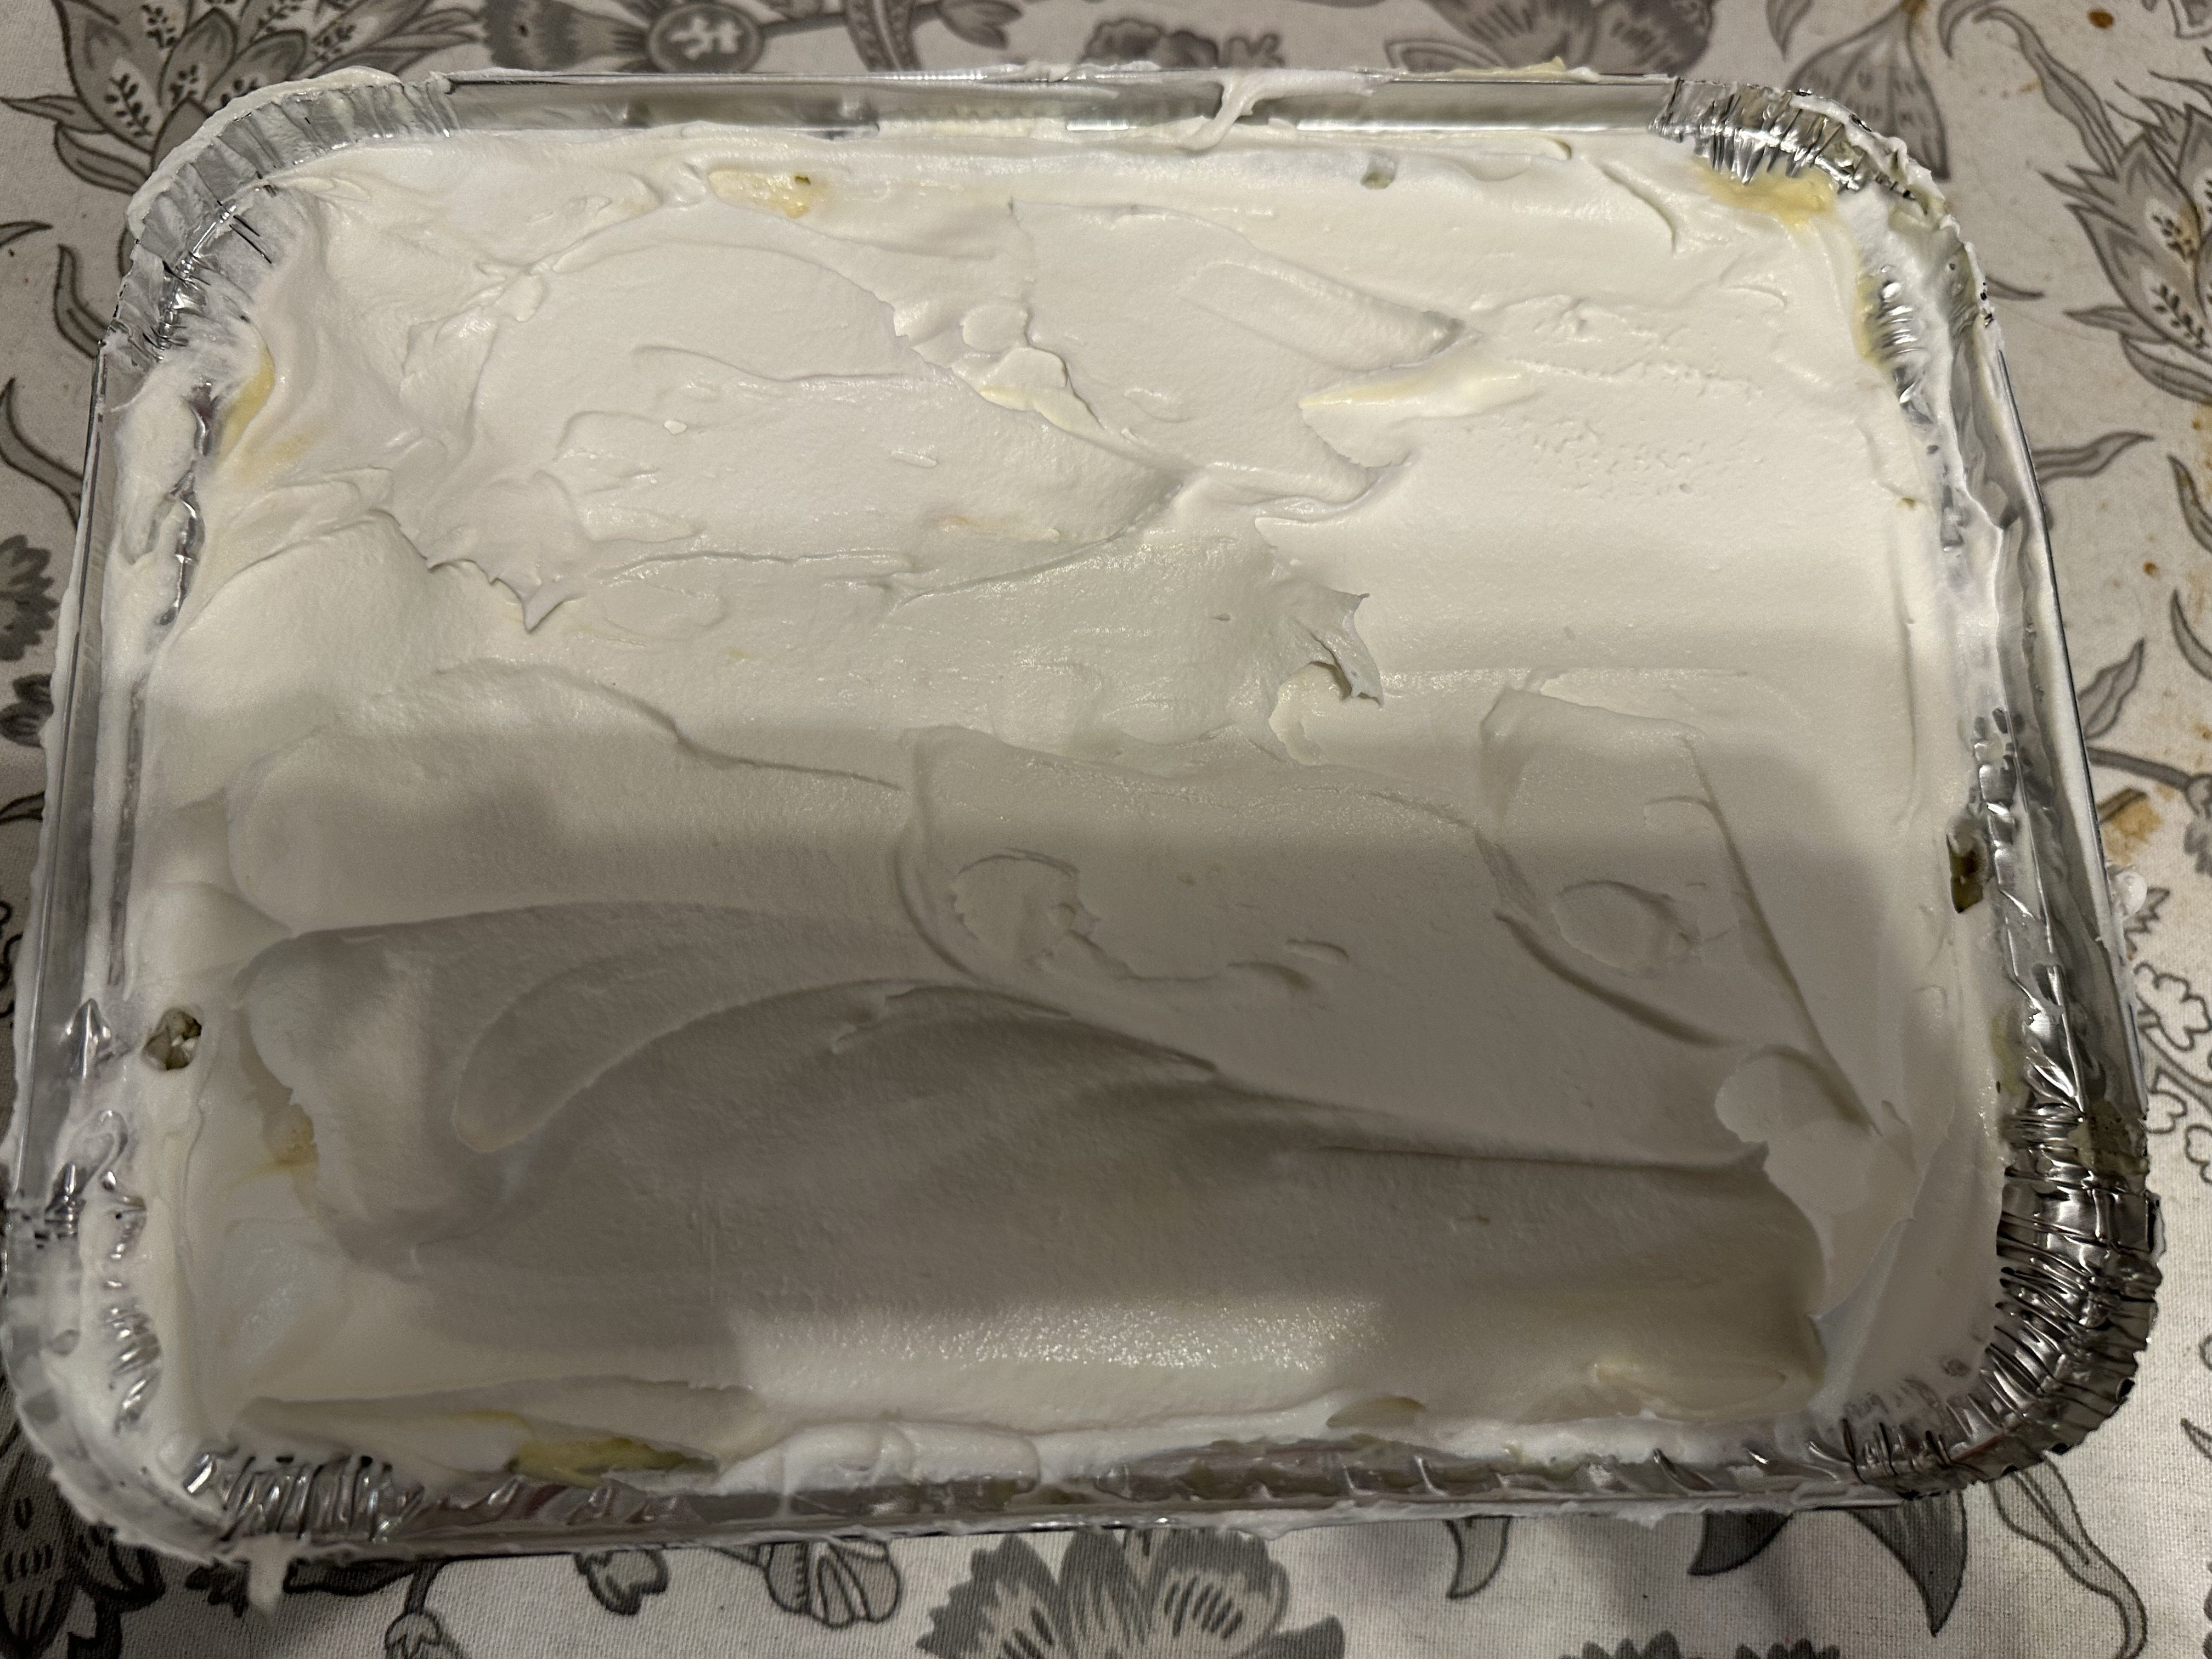
With the cookie-banana ballet complete, it’s time for the pudding to take the stage. Spread half of the velvety pudding mixture over the bananas, ensuring an even distribution. Now, commence layering once more: another round of cookies, bananas, and the remainder of the pudding mixture. And here comes the grande finale—the crowning glory—cover the second layer with the entirety of the Cool Whip. It’s like dressing our dessert in a cloud of sweet perfection.
Now, exercise a bit of patience—cover the pan, usher it into the refrigerator, and let it chill for at least eight hours. The flavors need time to mingle and dance, ensuring that when you finally unveil your creation, it’s a dessert spectacle worth savoring. Get ready for a banana pudding experience that transcends the ordinary!
Banana Pudding
Ingredients
1 8 ounce Container of Cool Whip
1 8 ounce Package of Cream Cheese , softened
1 Teaspoon of Vanilla Extract
1 14 ounce can Eagle Brand Sweetened Condensed Milk
1 5 ounce box of Jello Instant French Vanilla Pudding Mix
1.5 Cup Whole Milk
1/3 Cup Heavy Cream
1 Package of Biscoff Cookies
4 Medium Ripe Bananas
¼ cup of Lemon Juice
Directions
- Lightly grease a baking dish approximately 9x7x3 inches.
- Using either a stand mixer or a hand mixer, blend the cream cheese with a whisk attachment on a medium speed until it is fluffy. Scraping the sides as needed throughout the whole mixing process.
- Add the vanilla extract and condensed milk and mix thoroughly.
- Add the pudding mix and mix until there are no lumps.
- Add the milk then the cream and mix thoroughly. The mixture should be very smooth.
- Remove the mixing bowl from the mixer and fold in 2/3 of the Cool Whip container ensuring that it is completely incorporated into the pudding mixture.
- Cut the Biscoff cookies into three pieces using a bread knife and place a layer into the bottom of your baking dish.
- Cut the bananas into ¼-3/8-inch slices and place a layer onto each cookie piece.
- Pour half the pudding mixture on top of the bananas.
- Repeat the process. Add an additional layer of cookies, then bananas, the rest of the pudding mixture and finally top with the remaining Cool Whip.
- Refrigerate for at least eight hours. Enjoy!

Leave a comment